★★★★★
“job well done good communication throughout the job very clean and tiddy when the job is finish flat roof replacement many thanks.”
Sumit Bal
Dormer tops, cheeks and the junction with the main roof, plus extension, garage and porch roofs across Deeside. Leaks traced, repairs where a repair will genuinely do, and full replacement in EPDM rubber.
Deeside has had a great many loft conversions, and nearly every one of them put a flat-roofed dormer on the back of the house. Drive through Connah’s Quay, Shotton, Queensferry, Garden City or Mancot and you can pick them out from the road: a box pushed out of the rear slope with a window in the front of it, a small flat top, and two side cheeks running back into the tiles.
That box is a different job from an extension roof and it is worth being clear why. An extension roof is mostly field with a few edges round it. A dormer is almost all edge. There is a top that might be a couple of metres each way, two cheeks, a face with a window in it, and a junction with the main pitched roof along the back and both sides. Every one of those is a detail formed by hand, and details are where flat roofs let water in.
The useful thing about a dormer is that it is small enough to cover in a single piece of rubber, taken up both cheeks and over the top with no seam anywhere on it, which removes the laps that used to split on felt dormers. What the sheet is, how it is bonded and what sits under it are covered on the EPDM rubber roofing page rather than repeated here.
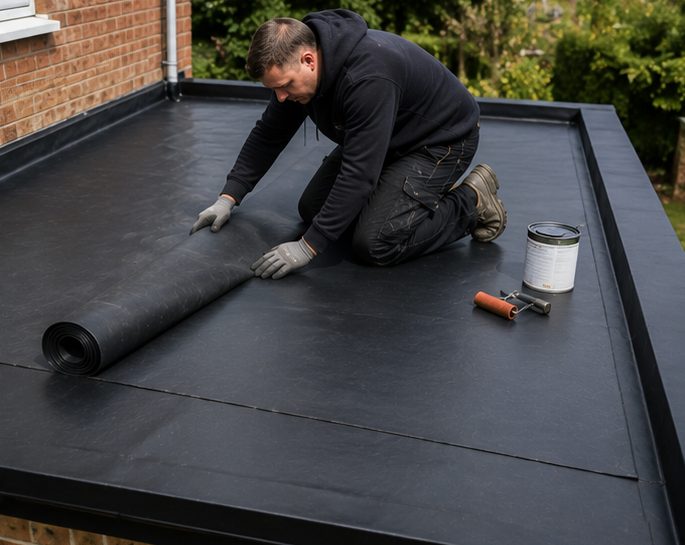
Images above are for illustration purposes only.
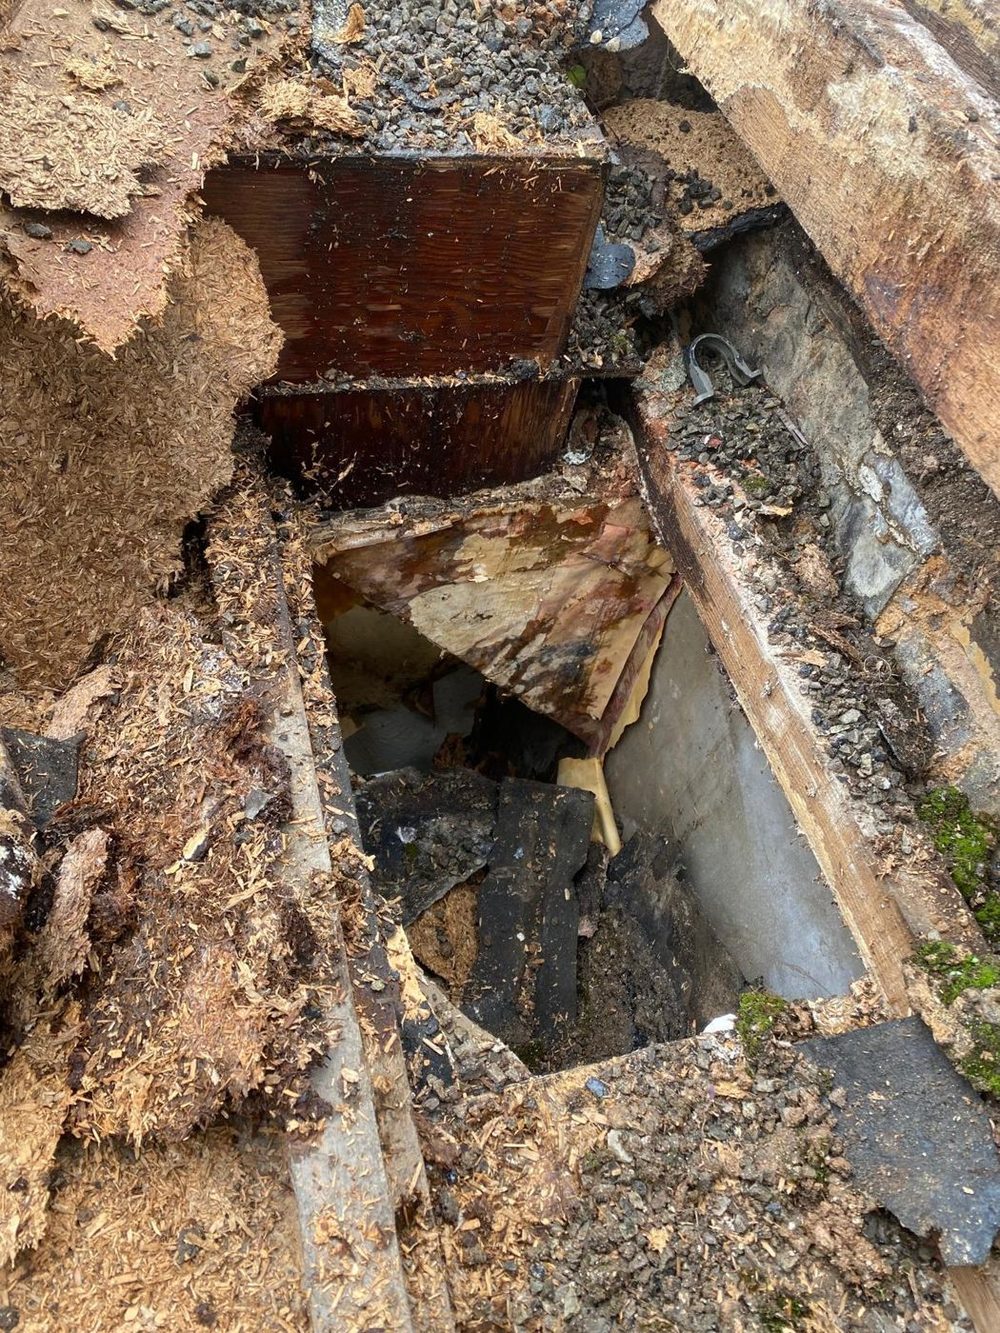
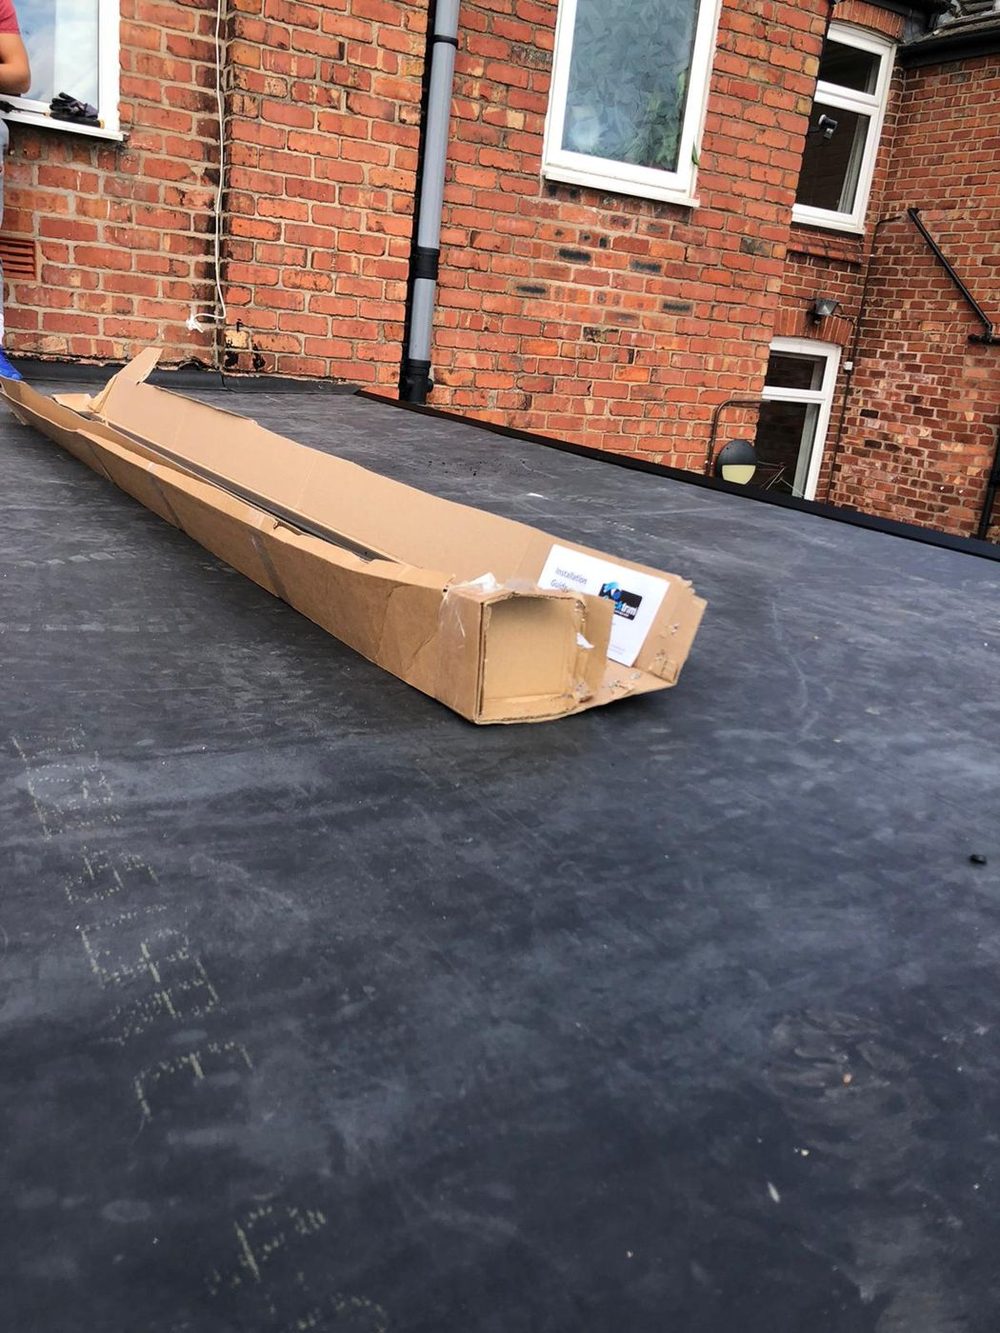
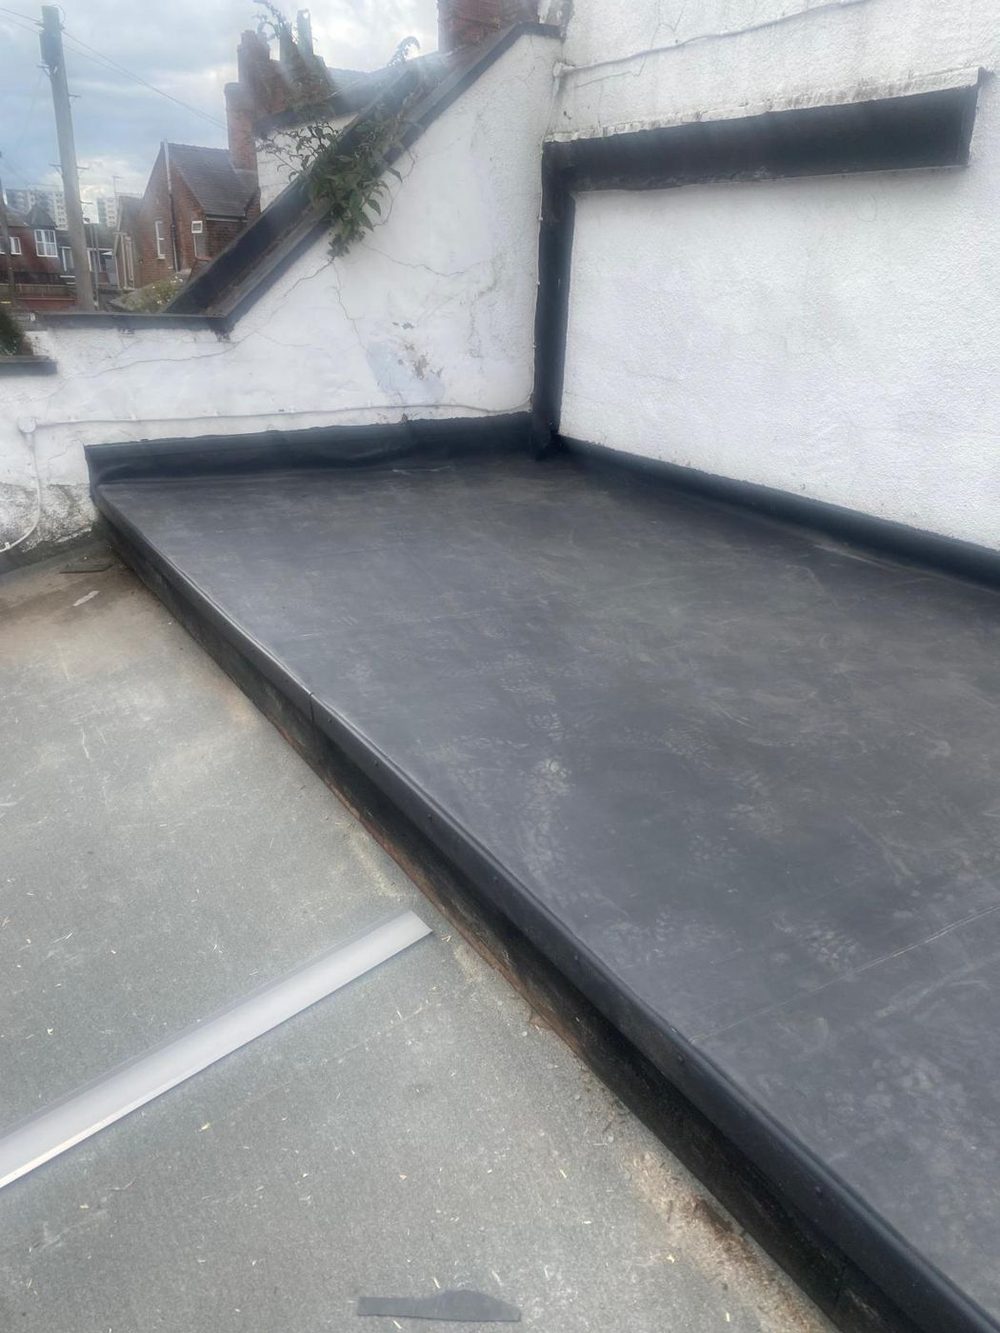
Photographs of our own flat roofing work. There are more on the main flat roof page and in the gallery.
Ask a homeowner where the leak is and they point at the ceiling under the middle of the dormer. Ask the roof and it points somewhere else. The flat top is the simplest and least stressed part of the whole assembly. The junction along the back, where the dormer dies into the tiles of the main slope, is the part that was formed on site, by hand, in the most awkward position on the building — and it is the part carrying water off the roof above it.
Two quite different details meet on that box and they are not interchangeable. Up the cheeks, where the dormer runs with the slope, the weathering is a soaker to every course of tiling with a stepped cover flashing dressed over the top of them. Along the back, where the main slope runs down onto the head of the dormer, it is a back gutter: a lined channel formed across the head with a cover flashing over it, catching what comes off the slope above and throwing it out sideways onto the tiles. What sits in that angle on a great many dormers instead is a mortar fillet, a triangle of sand and cement buttered into the joint. Timber and mortar move at different rates, so the fillet cracks, and a cracked fillet collects water rather than shedding it.
The other usual suspect is the head of the window. A dormer face is shallow, the trim above the window has very little to work with, and the covering has to be dressed down over that head and sealed to it. When the front trim lifts or that seal lets go, water runs down inside the front of the box and shows up on a ceiling some way back from where it got in. Which of the three it is comes from looking at the whole dormer; our garage, extension, dormer or porch guide goes through how each of these buildings behaves.
Dormer leaks announce themselves indoors long before anything is visible outside. The first sign is usually a line of staining where the sloping ceiling meets the flat one, or a damp edge running down the plasterboard reveal beside the window. Paper lifting at the top corner of the dormer window, a musty smell in a converted room that was dry last winter, and paint blistering along the junction all point the same way.
Outside, from the garden with a pair of binoculars rather than from a ladder, look at the line where the cheeks run into the tiling. Cracked or missing mortar, a slipped tile, a lead flashing that has dropped or been pointed over, a fascia gone dark along its top edge — all of those are visible from ground level and all of them are worth a photograph on WhatsApp before anybody comes out to you.
On a two-storey house the dormer sits up in the rear slope, above the bedroom windows and well out of ladder reach. That means a scaffold to the rear, and it means finding a route for the scaffold round a property that often has a narrow passage between two semis. Where the passage will not take it and the only other way in is over a neighbour’s side, that conversation happens before the quotation goes out, not on the morning of the job. Scaffolding is quoted separately.
Deeside helps in one respect. Rear gardens on the newer estates around Mancot, Ewloe and Garden City can usually be reached without going through the house, and plenty of the older Shotton and Queensferry streets still have a back entry. Where neither works the materials go over the top of the building, which is slower and needs more platform to do safely. We would far rather see the access before quoting than discover it with a wagon out on the road.
On a dormer the flat is the straightforward part and the upstands are not. An upstand should reach 150mm above the finished roof surface, which is what BS 6229 and NHBC guidance ask for, and on a dormer there is frequently nothing like that much room between the flat top and the tiling behind it. Where the height genuinely cannot be reached, the detail has to change — a cover flashing, a different termination, sometimes an alteration to the tiling above — rather than the shortfall being ignored and hoped about.
Falls are the other squeeze. A dormer ceiling was built as high as the conversion could manage, so there is very little depth to build a fall into, and it still has to shed positively towards the front instead of back into the junction. New firrings, a sound deck screwed down and supported along every edge, then the covering in one piece up both cheeks: that is the shape of a proper dormer re-roof, and it is why the work takes longer than the area suggests.
Leak tracing and repair, overlays where they are sensible, full strip-back and replacement in EPDM, new decks, corrected falls, trims, upstands and rooflight kerbs — and the pitched roof alongside when it needs it too.
“job well done good communication throughout the job very clean and tiddy when the job is finish flat roof replacement many thanks.”
Sumit Bal“Excellent service from Buddy and the team in installing a new garage roof in a really professional manner. Was kept updated at all stages and given good advice as to our options. Would highly recommend”
Peter Aspinall“Highly recommend. Very quick and efficient. Great communication. Went above and beyond to work the weekend to complete the work that needed to be done. Very happy with the results.”
Karen JonesWritten for homeowners working out what their flat roof actually needs, before anyone comes out.
Every town below has its own page, written around the flat roofs that are actually on the buildings there.
Describe the roof and roughly where you are, and we will come back to you — usually the same day. If water is coming in now, please call instead.
Prefer to talk? Call 07464 259566 · WhatsApp 0044 7464 259566 · Email Evensbuddy@yahoo.com
We cover Deeside from our base at Elton, just north of Chester.
2 Manley View
Elton
Chester
CH2 4QF
Almost all of our work happens at your property rather than here, so please call before travelling.
Monday – Friday — 24hrs — Emergency Call-Outs
Saturday — 8:00 – 19:00
Sunday — 8:00 – 19:00
Weekday emergency call-outs are answered around the clock. Weekend cover is 8:00 to 19:00.