★★★★★
“Excellent work replacing ridge tiles, repointing chimney and repairing flashing. Also fixed other broken tiles. Clean and tidy job. Would definitely recommend.”
Neil
Repointing, flaunching, leadwork, pots, cowls, stack rebuilds and stack removals — the parts of a chimney a roofer is responsible for, done from a scaffold and finished properly rather than patched over.
A chimney stack is the only part of a house that stands out in the weather on all four sides at once. The roof around it sheds water downhill; the stack has to hold water off two faces that never dry, take the wind that comes over the ridge, and do it with mortar joints that were struck by hand a hundred years ago. That is why the stack is almost always the oldest failure on a roof, and why so many “roof leaks” turn out to start within a metre of it.
Roofline Solutions repairs chimneys across Chester, Cheshire, the Wirral and Deeside. In practice that means four things: the mortar — repointing the brickwork and re-forming the flaunching on top; the leadwork — the apron, soakers, stepped flashings and back gutter where the stack meets the roof; the top — pots, cowls, bird guards and capping a flue that is finished with; and the structure — rebuilding a stack head that has gone past pointing, or taking a stack down when it is no longer doing a job.
What we do not do is worth saying as plainly. We are roofers, not sweeps and not flue installers. If a flue needs lining, sweeping or testing for a working fire, that is a HETAS or Gas Safe registered installer and a chimney sweep, and we will say so rather than take the work. Everything on this page is work done on the outside of the stack, from a scaffold.
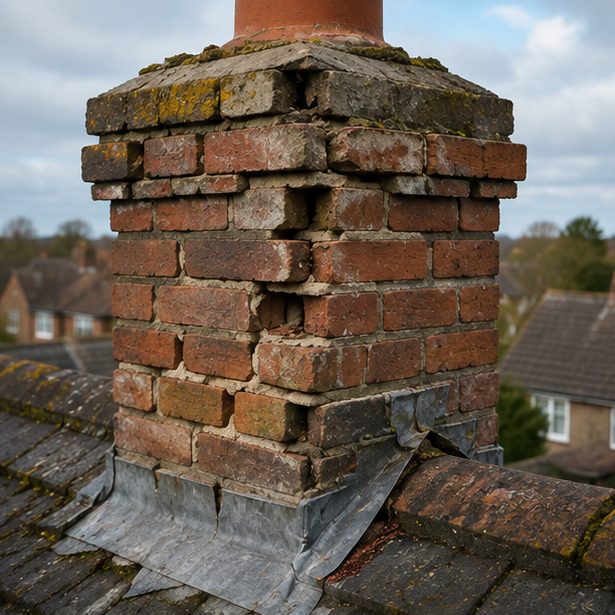
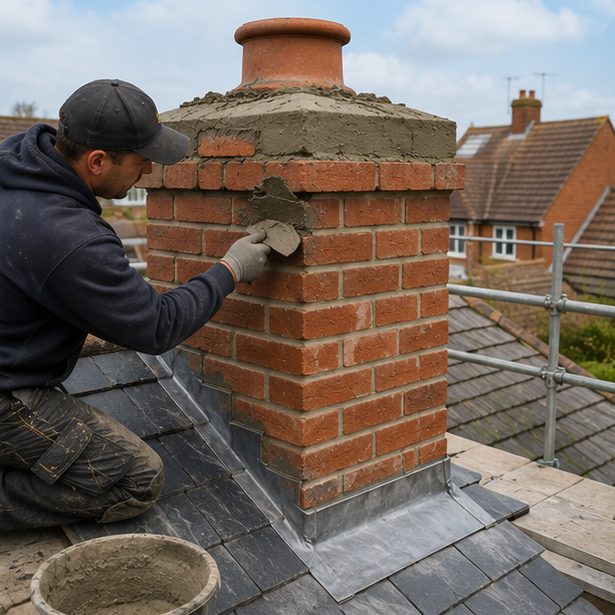
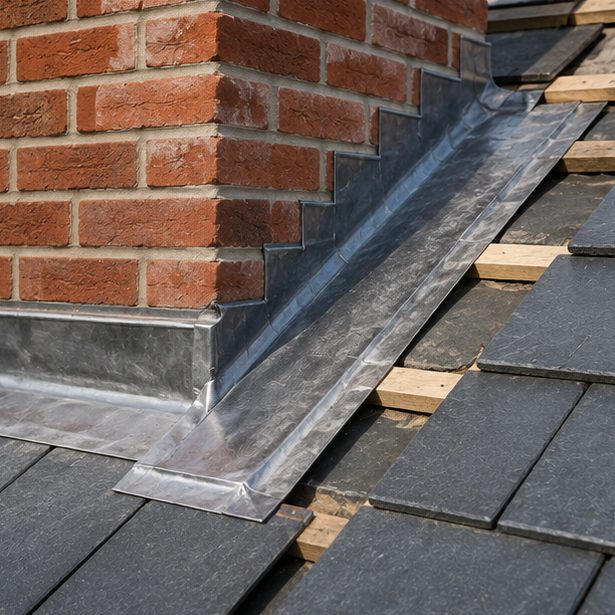
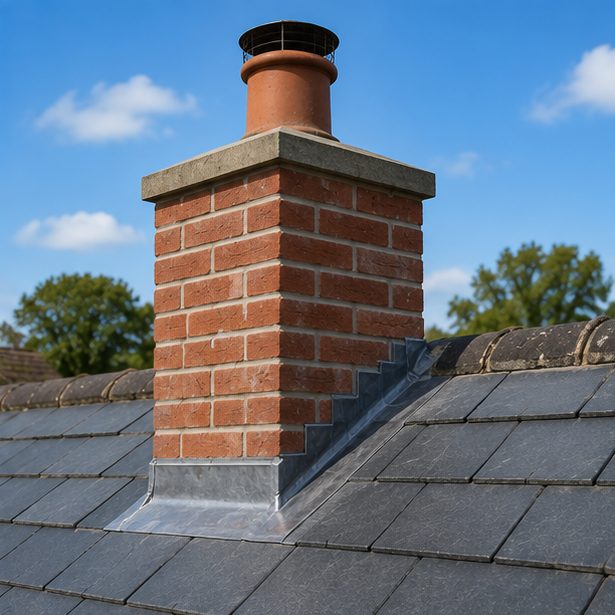
Images above are for illustration purposes only.
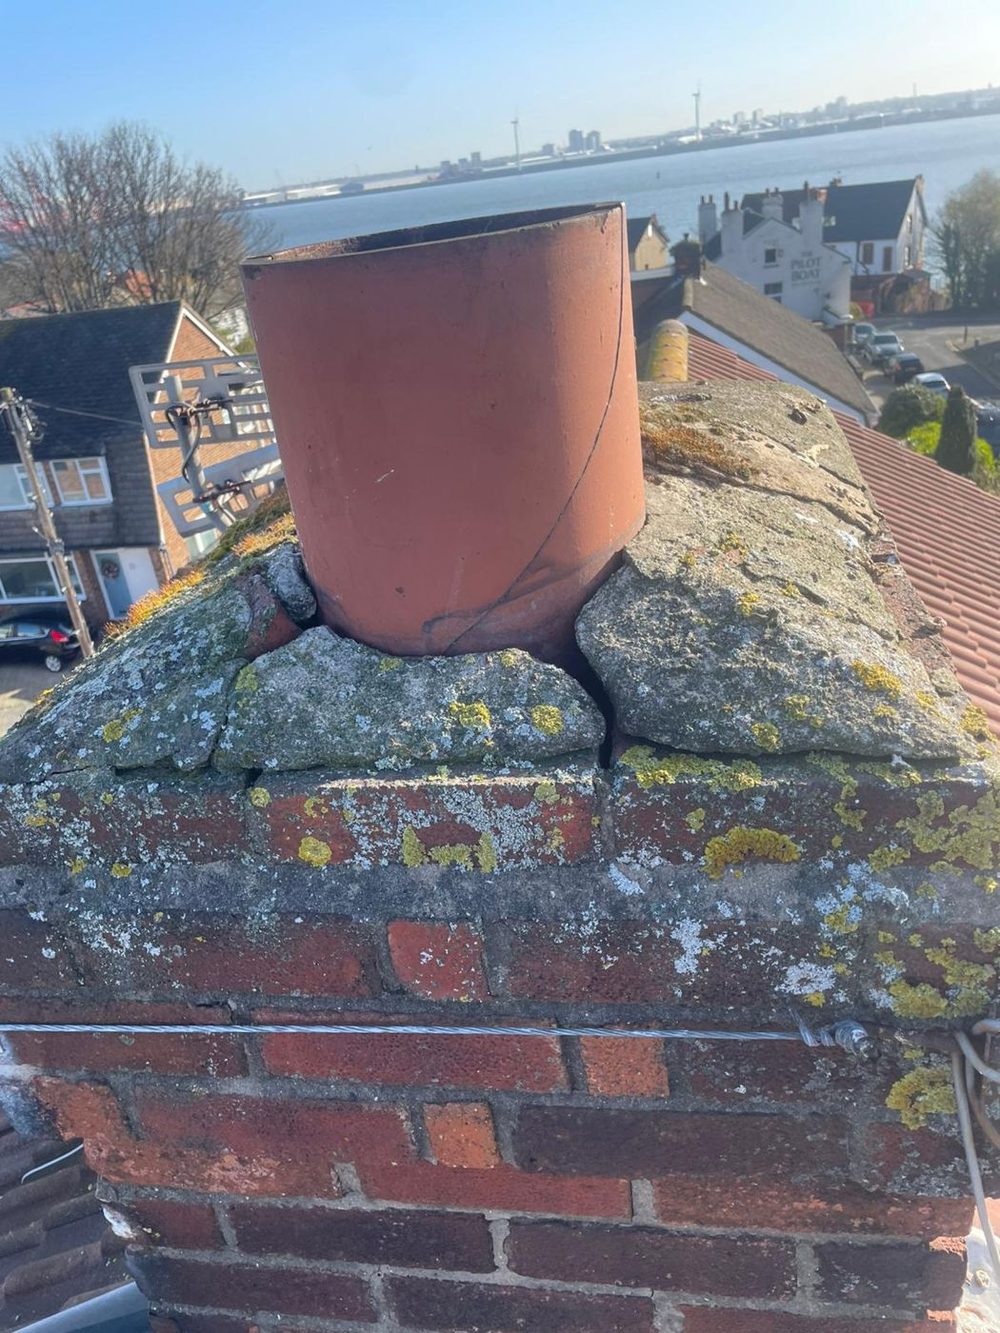
Chimneys fail from the top down, and they fail in a sequence that is worth knowing because it tells you how far along yours is. The flaunching goes first. That is the sloped mortar bed on top of the stack that the pots sit in, and it is doing the hardest job on the whole roof — it is a thin layer of mortar, laid to a fall, with nothing over it, frozen and thawed every winter. It cracks, then the cracks open, then pieces lift out around the pot. Water then runs straight into the stack head instead of off it.
Once the head is taking water, the brickwork starts to go. Wet brick that freezes spalls — the face pops off and leaves a soft, sandy scar that soaks up more water than the brick did. At the same time the perp joints, the short vertical ones, erode back because they were always the weakest part of the wall. On the weather side of a stack in Cheshire, which is the south-west face, that erosion can be twenty or thirty millimetres deep before anything shows inside the house.
The lead is usually the last thing to give up, and it rarely fails on its own. What fails is what somebody put in instead of lead: a cement fillet run round the base of the stack. Mortar and lead move at different rates in the sun, and a fillet is rigid where a lead apron is not, so a fillet cracks along its length within a few years and then feeds water directly into the joint it was meant to close. A stack with a cement fillet round it is a stack that will leak, it is only a question of when.
The reason the order matters is that a stack caught at stage one is a morning’s work with a scaffold, and a stack caught at stage three is a rebuild. If you can see cracked or missing flaunching from the ground with a pair of binoculars, that is the moment it is cheapest to deal with.
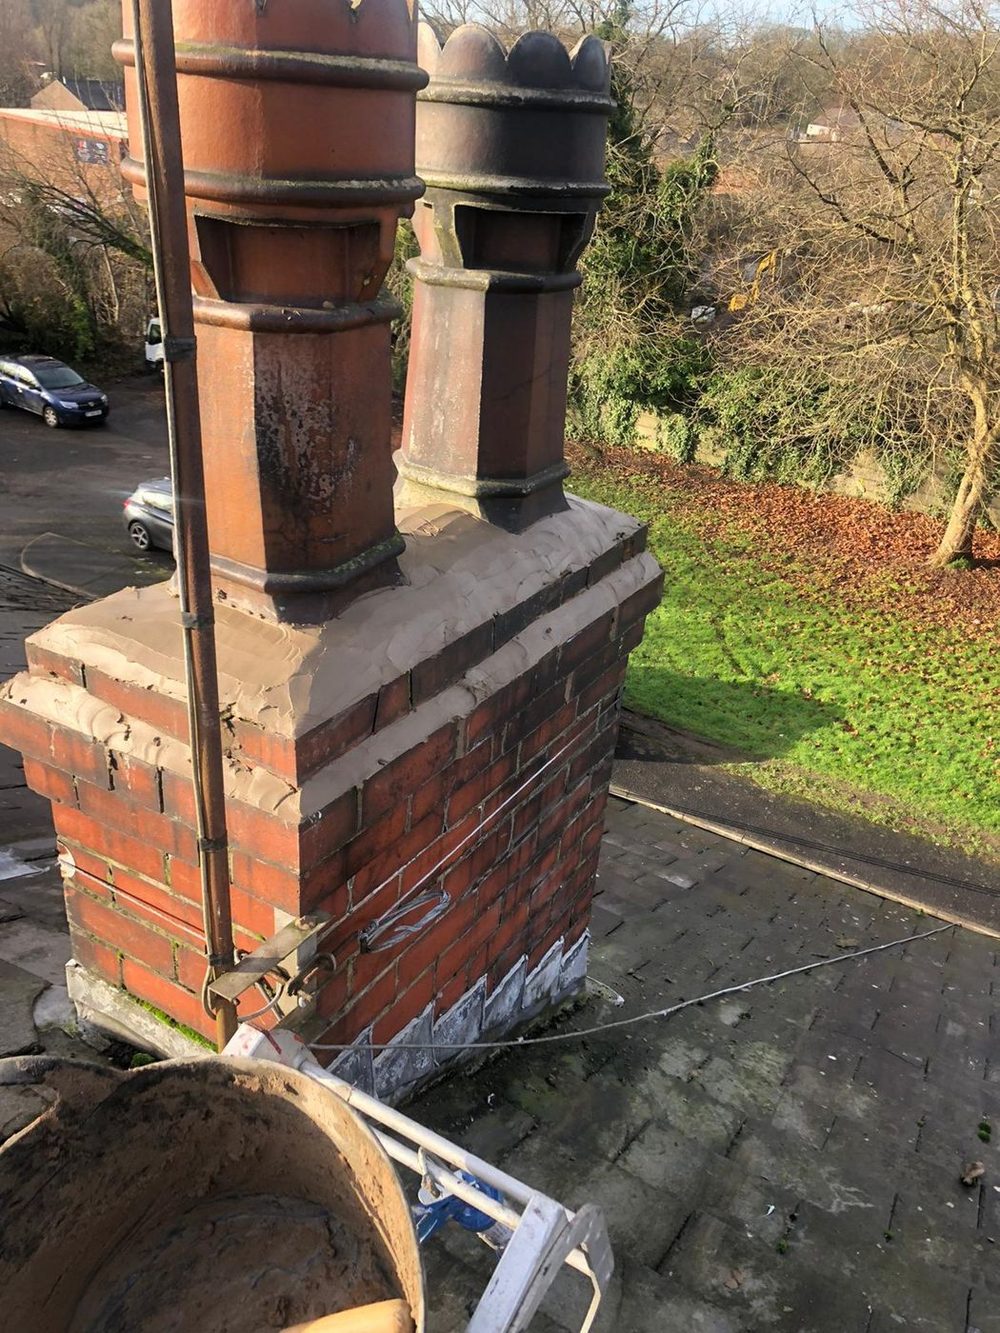
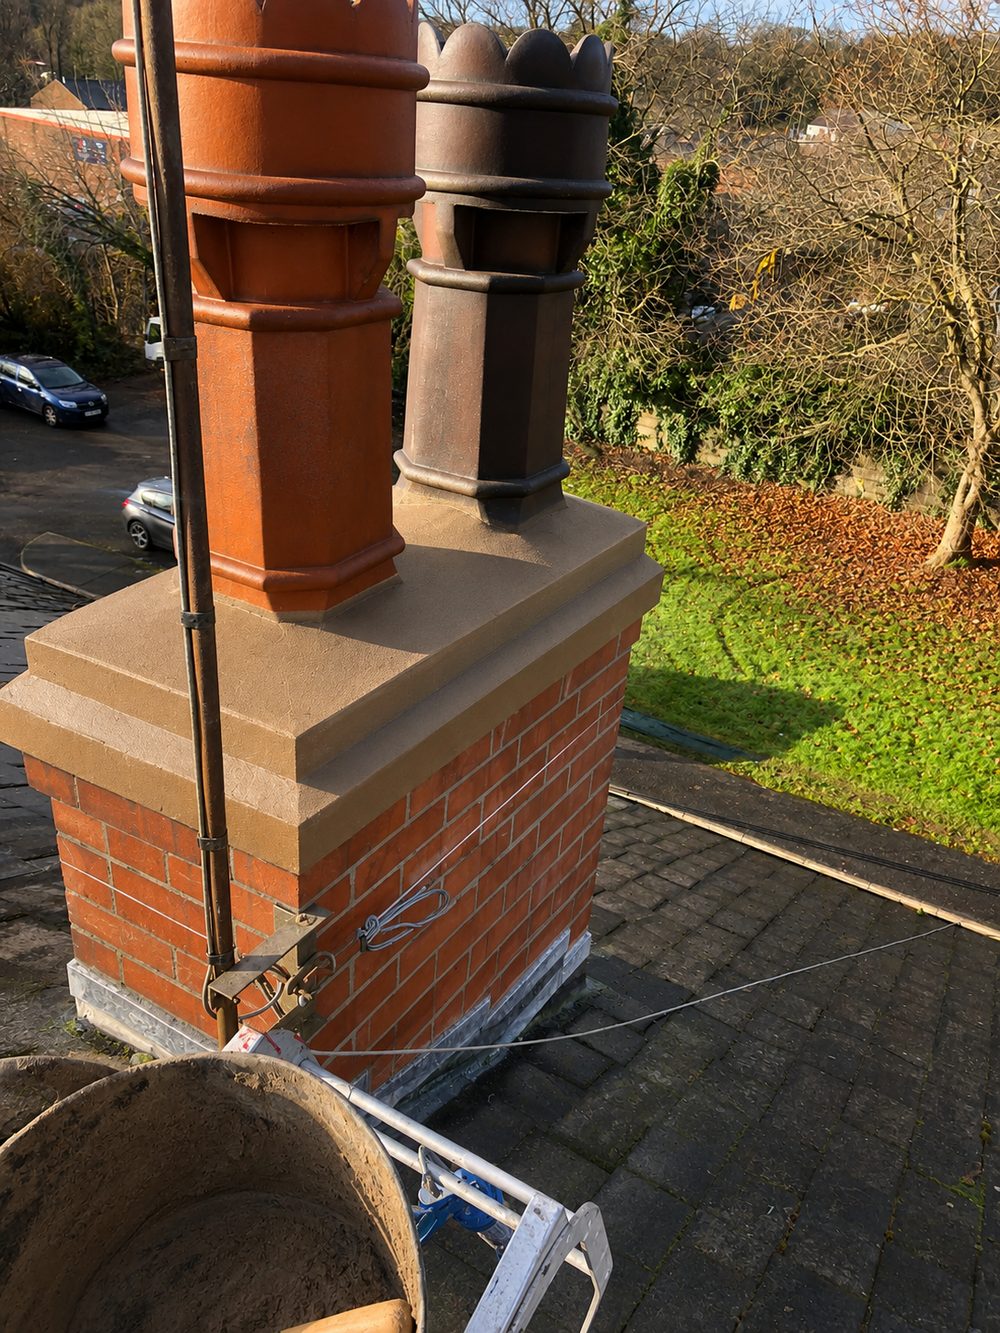
Repointing a stack is not the same job as repointing a wall, because the access is different and because the mortar has to be chosen more carefully. The joints are raked out to at least fifteen millimetres, and deeper on a wide joint — the working rule is about twice the joint width — so the new mortar has something to key into. Raking a joint five millimetres deep and smearing mortar over the face is not pointing; it falls out in two or three winters and takes some of the brick arris with it.
The mix matters more on a chimney than almost anywhere else on a house. Mortar should always be softer than the brick it sits between, so that when the wall moves the joint takes the damage rather than the brick face. On a Victorian stack in soft red handmade brick — which is most of central Chester, Frodsham and the older Wirral terraces — a strong cement mix is actively harmful. It traps water in the brick, and the brick face spalls off at the next hard frost. The older and softer the brick, the more lime and the less cement the mix wants.
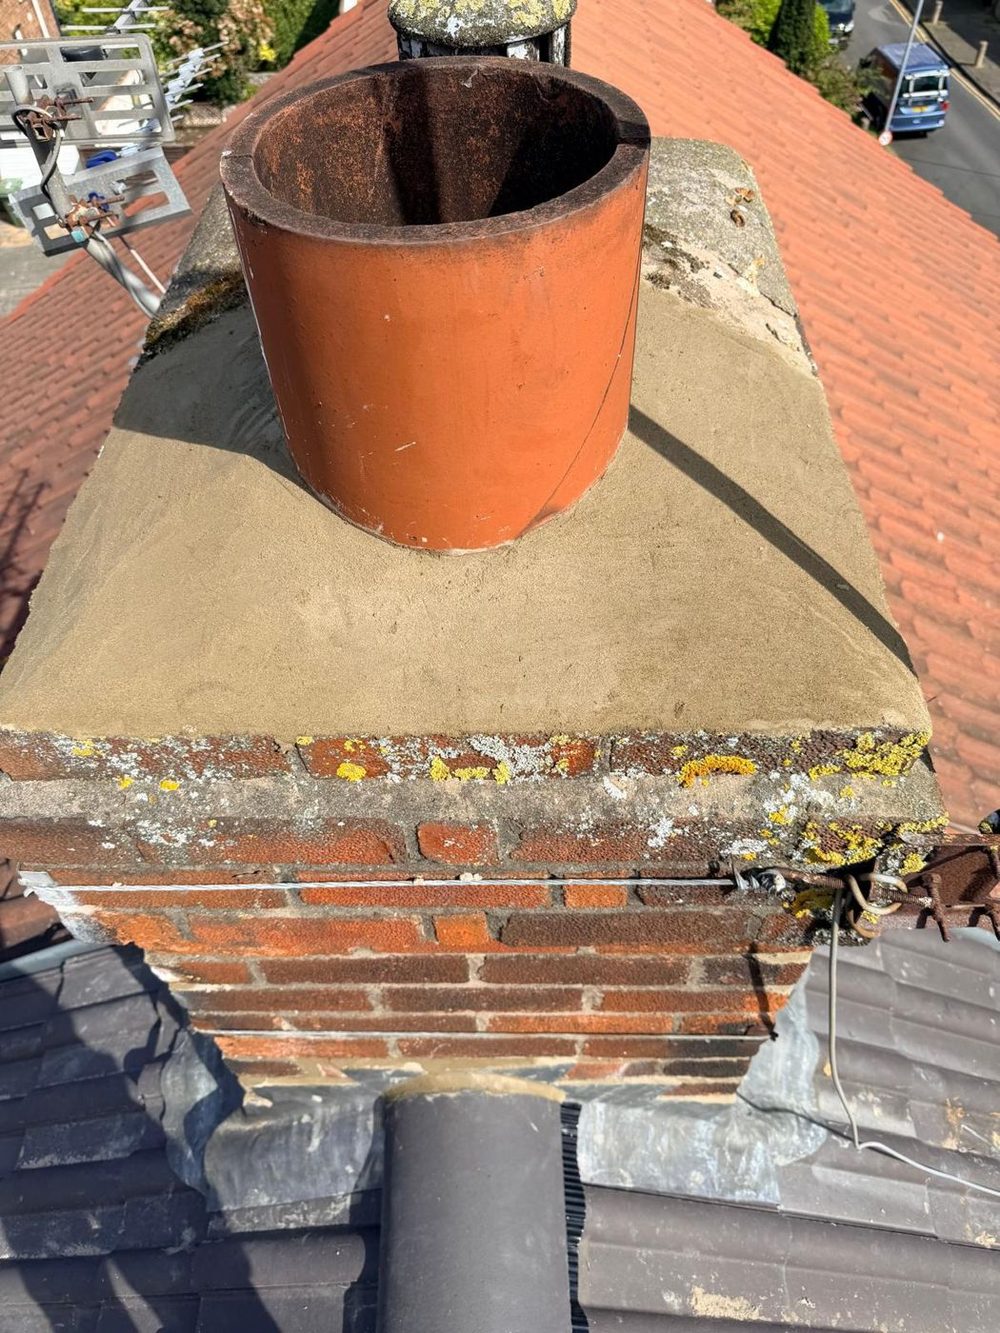
The flaunching is re-formed as a separate operation once the pointing is done. The old mortar comes off back to the top course, the pots are lifted and checked, and the new flaunching is laid to a clear fall so water runs off the stack rather than sitting against the pot. It is formed thick at the pot and thinner at the edge, with a drip at the perimeter, and the pots are bedded back in while it is still green. A flaunching laid flat looks tidy for about a year and then holds a puddle.
A stack is either pointed properly all round or it is not pointed. Doing the two faces you can see from the road and leaving the two you cannot is a false economy, because the wall is one object and the water gets in wherever it is easiest.
Where a stack comes through a pitched roof there are up to four separate pieces of lead doing four separate jobs, and a stack is only watertight when every one that the roof calls for is right. The front apron sits on the downhill face and is dressed down over the tiles or slates below it. Up the two sides, on a slate or plain-tile roof, run soakers — individual pieces of lead interleaved one per course — covered by a stepped flashing that follows the brick courses; against a modern interlocking tile there are no soakers at all and the stepped flashing is dressed straight over the tile instead. Behind the stack, on the uphill side, is the back gutter, which is the piece that fails most often and is the hardest to see.
Each of those pieces is chased into a bed joint, usually twenty-five millimetres deep, wedged with lead tacks and then pointed. Lead that has simply been laid against the brickwork and sealed with mastic is a repair with a life measured in seasons. Lead fixed into the joint and pointed will outlast the pointing around it.
Sizes matter too. A single piece of lead longer than about a metre and a half will buckle and split at the fixings as it expands, which is why long runs are lapped in sections rather than run in one length, and why a stack with a three metre back gutter in one piece will eventually crack across the middle. Flashings on a house of this kind are normally code 4; heavier lead goes where the piece is larger or more exposed.
If your stack currently has a cement fillet, replacing it with proper lead means taking tiles or slates off around the stack, cutting the chase, forming the pieces and putting the roof covering back. It is more work than running another fillet, and it is the difference between a repair that ends the problem and one that postpones it for two years.
A chimney pot has one job, which is to lift the top of the flue clear of the stack and help it draw. Pots crack for the same reason flaunching does — they are unglazed fired clay, they hold water, and water that freezes inside the wall of a pot will split it. A pot that is cracked through is also a pot that is no longer restrained by its flaunching, and in a gale that is a hazard rather than a maintenance item.
Cowls cover several different problems and it is worth being clear which one you actually have. A rain cap keeps weather out of a flue that is otherwise in use. A bird guard stops jackdaws, which will fill a flue with sticks in a single spring and are the commonest cause of a chimney that suddenly stops drawing. An anti-downdraught cowl helps a flue that smokes back in certain winds, usually because something nearby is taller than it is. They are not interchangeable, and fitting the wrong one solves nothing.
Capping a flue that is finished with is the job people most often get wrong, and it is worth reading twice. A flue that is sealed solid at the top and solid at the bottom does not stop being damp; it stops being able to dry. Moisture rises through the brickwork, condenses in still air inside the flue and comes out as a stain on the chimney breast in the bedroom. A capped flue needs a vented cap at the top and a vent in the breast at the bottom, so that a slow current of air keeps moving through it.
The other thing worth knowing about a damp chimney breast is that it is often not a leak at all. Decades of burning leave hygroscopic salts in the brickwork, and those salts pull moisture out of the air. If the damp patch on your breast is there in dry weather as well as wet, and comes and goes with the humidity rather than with the rain, no amount of work on the roof will fix it — that is a plastering and lining job inside.
There comes a point where pointing a stack is throwing good money after bad. If the brick faces have spalled across whole courses, if the stack is visibly out of plumb, or if the joints have eroded so far that the bricks are effectively dry-stacked, the sensible job is to take the top down and rebuild it. Most rebuilds are partial — the stack is taken down to below the roof line where the brickwork is still sound and rebuilt from there, reusing the original pots if they are undamaged.
A rebuilt stack gets things the original almost certainly did not have: a damp-proof tray built into the courses just above the roof line, so that water travelling down inside the brickwork is thrown back out instead of carrying on into the roof space, and a full set of new lead at the junction. Reclaimed or matched brick keeps it looking like the house it belongs to rather than a repair.
Taking a stack away entirely is a different conversation. Removing it down to roof level and tiling or slating over the hole is straightforward work and the commonest request, and it is what one of our customers describes in her review further down this page. Taking a stack out lower than that — leaving the upper part standing on brackets, or removing breast and stack through the floors below — is structural, and belongs to Building Control and a structural engineer, not to a decision made on a roof. We will tell you which of those two jobs yours is before anything starts.
One more thing that catches people out on terraces and semis: many stacks are shared. The party wall runs up through the middle of the stack and half of it is your neighbour’s. That does not stop the work, but it does mean the conversation has to happen first, and that a shared stack cannot simply be taken down on one side.
Almost every chimney job on a pitched roof needs a scaffold, and we will say so at the quotation stage rather than after the work has started. A stack is worked on with two hands and a bucket of mortar at the top of a roof; it is not a job to do off a ladder, and anyone quoting to repoint a full stack without access is quoting for something other than what you need. Where a stack sits low on a roof or on a single-storey element, lighter access is sometimes enough, and we will tell you when that applies.
Weather decides the calendar. Fresh pointing and fresh flaunching both need to cure, and neither will do it in a hard frost or in driving rain. That is why chimney work gets pulled forward in a settled week and pushed back in a bad one. If water is coming in now, we will make it safe first — a temporary cover or a patch to the lead — and do the permanent work when the weather allows it.
A quotation from us says which faces are being pointed, whether the flaunching is being re-formed or renewed, which pieces of lead are being replaced, what is happening to the pots, and what access is included. If a quotation you have been given does not separate those out, you cannot compare it with anything, and you will not know afterwards what you paid for. Quotations from us are free and in writing.
We are fully insured, and we work across Chester, Cheshire, the Wirral and Deeside. If you would rather talk it through than fill in a form, call or send a photograph on WhatsApp — a picture of the stack taken from the garden with the phone zoomed in tells us more than a paragraph does.
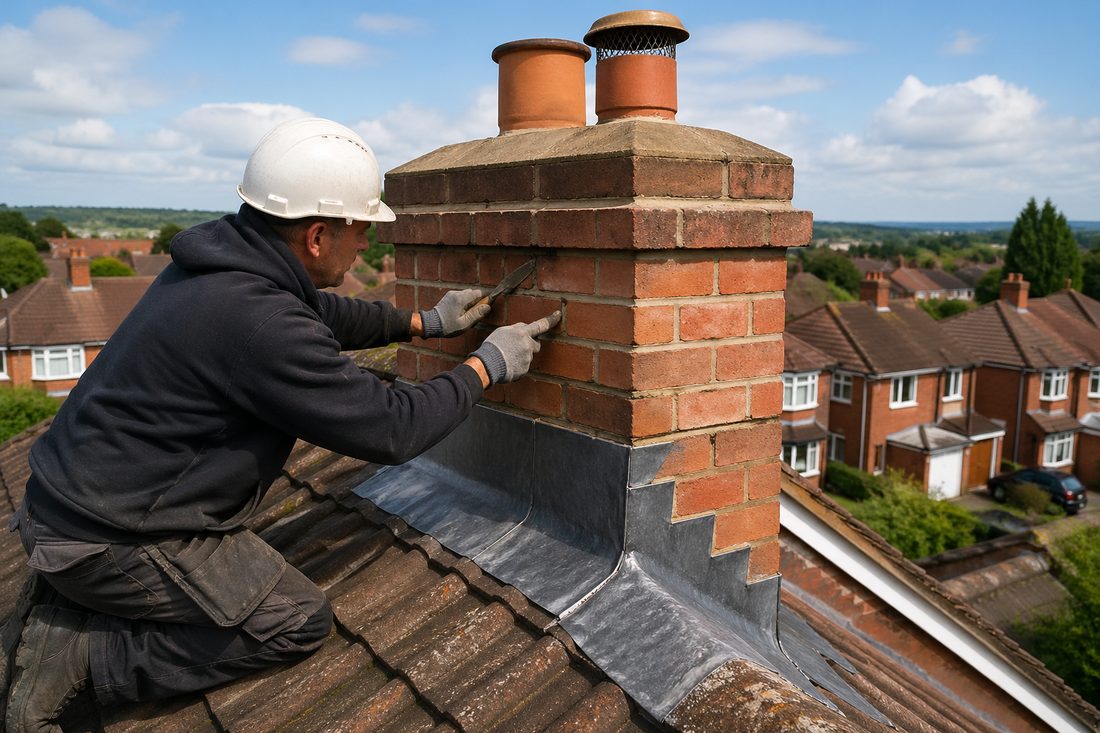
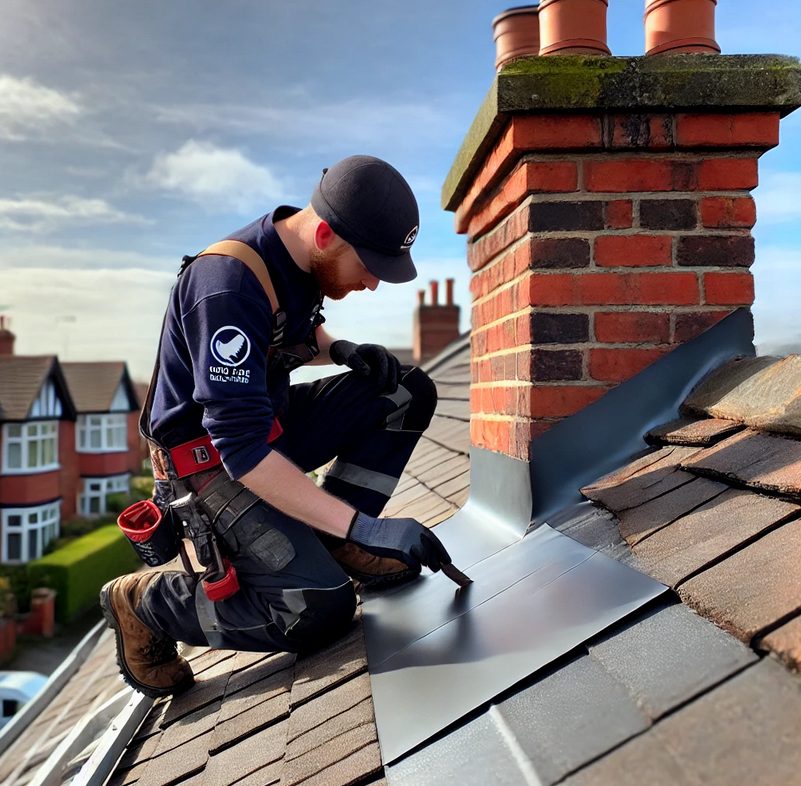
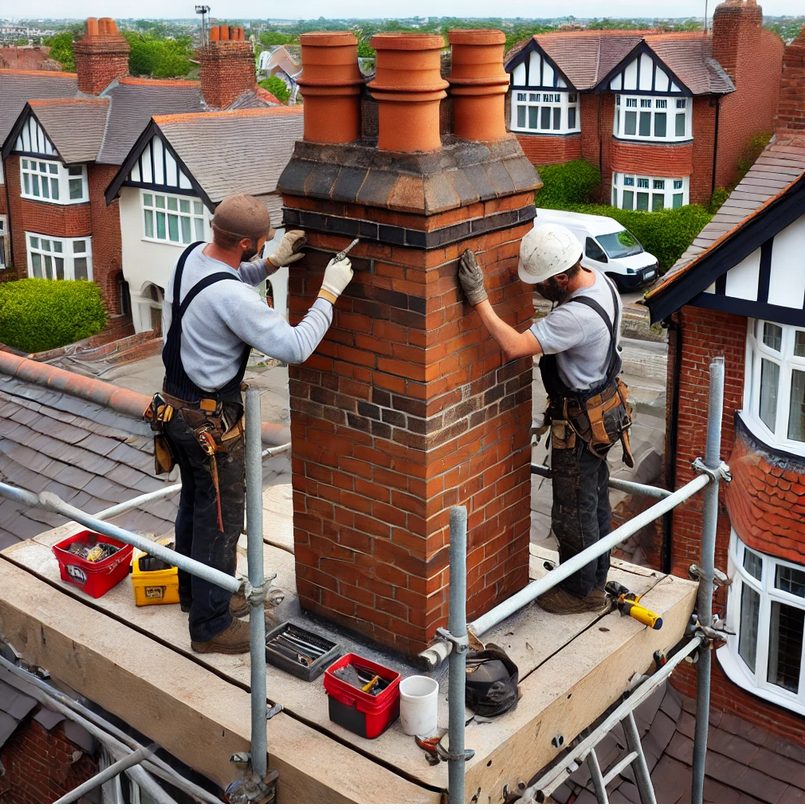
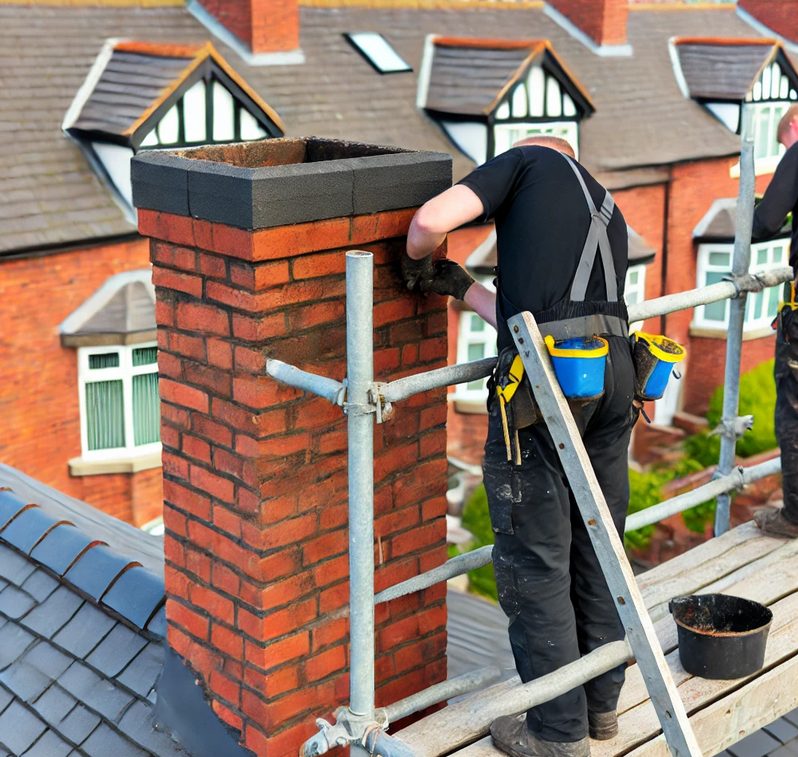
Images above are for illustration purposes only.
Photographs from our own jobs, not stock pictures — two before and after pairs, a close-up of what failed jointing actually looks like, and a new set of lead. There are more in the gallery.
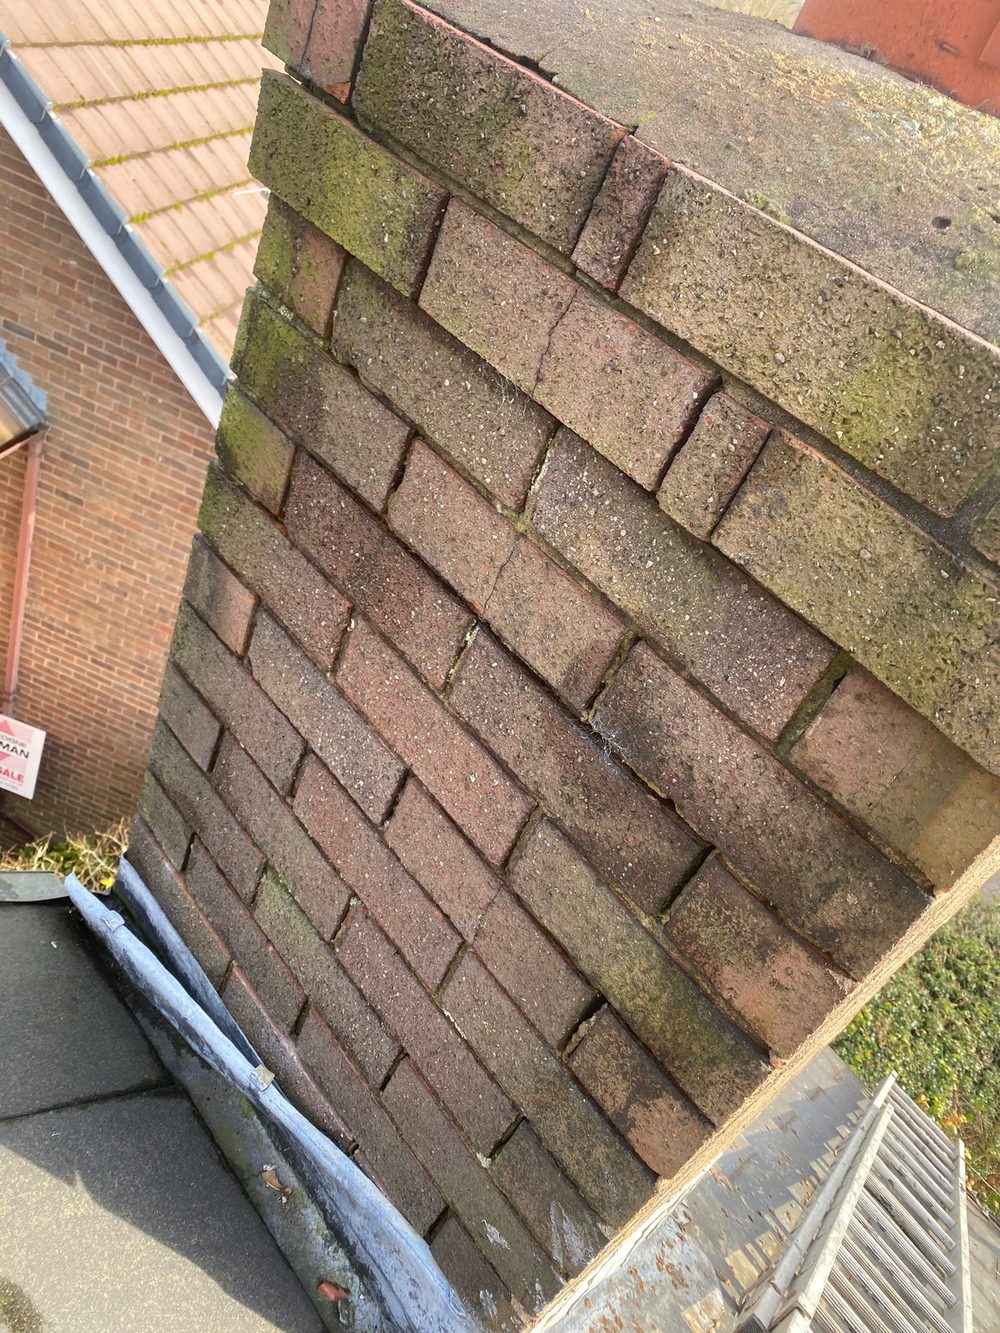
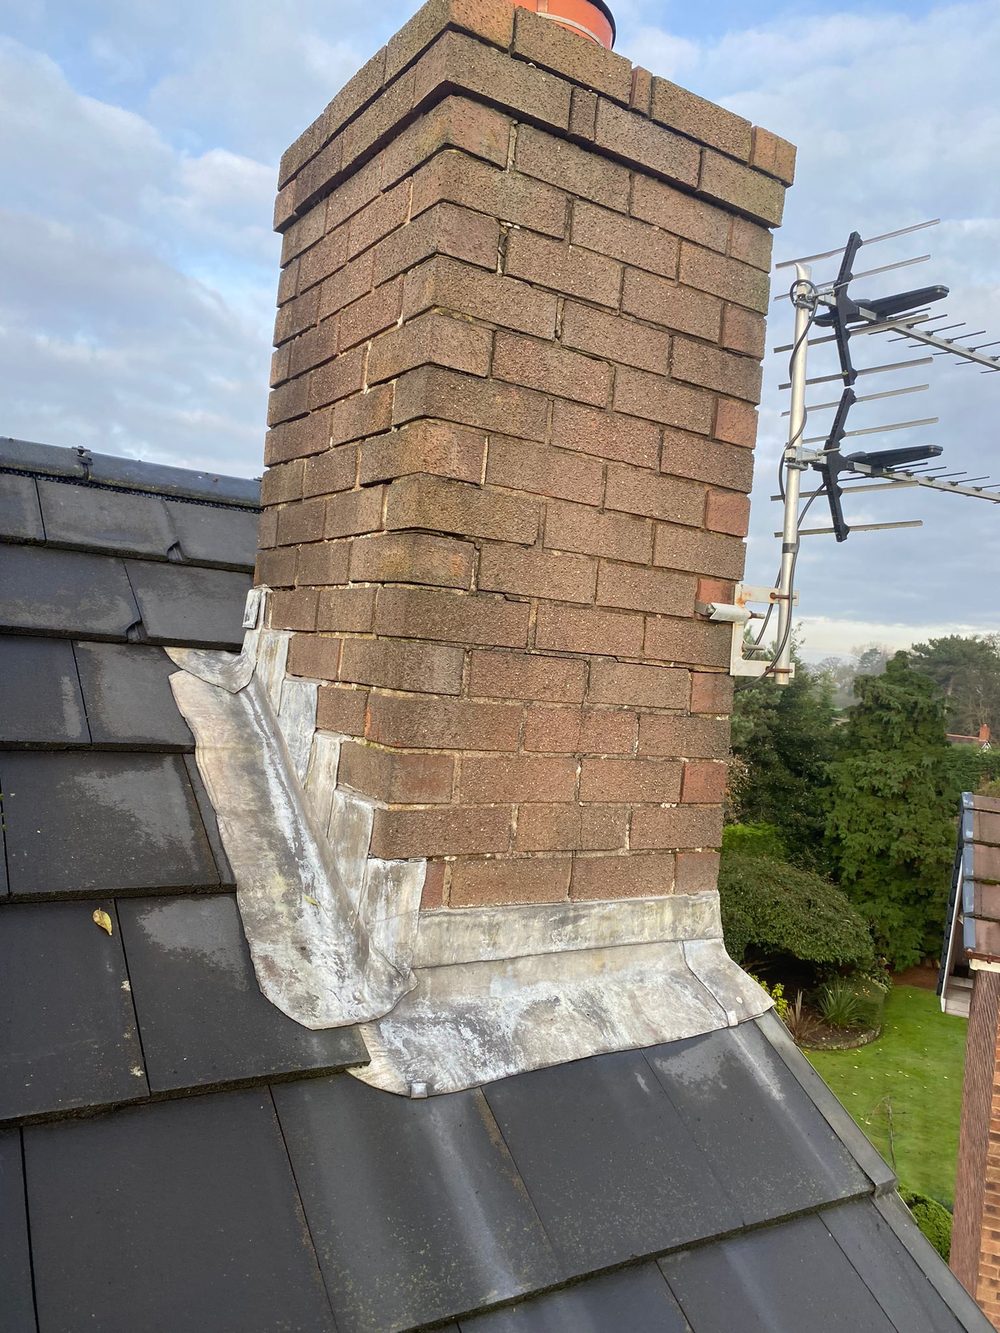
How to tell which part of a chimney has failed, what the work involves and what should be on a quotation. Written for homeowners working it out before anyone comes out.
“Excellent work replacing ridge tiles, repointing chimney and repairing flashing. Also fixed other broken tiles. Clean and tidy job. Would definitely recommend.”
Neil“The guys did a great job in repairing our chimney. They were reliable, friendly and efficient. Buddy kept me in the loop throughout the whole process and I would not hesitate to use Roofline again!”
Hollie Furnival“I needed help removing a chimney.
Buddy discussed the options available to me, taking into account my budget, timeline and DIY ability.
We settled that his team would remove the chimney to the roofline, using scaffolding and ladders.
He gave a detailed description of the steps his team were going to take, how long it would take them, and provided a fair quote.
His team were pleasant and worked efficiently. They got the job done in the estimated time and I was happy with the end result.”
Every town below has its own page, written around the stacks that are actually on the roofs there.
Describe what you can see and roughly where you are, and we will come back to you — usually the same day. If water is coming in now, please call instead.
Prefer to talk? Call 07464 259566 · WhatsApp 0044 7464 259566 · Email Evensbuddy@yahoo.com
We work across Chester, Cheshire and the Wirral from our base at Elton, just north of Chester.
2 Manley View
Elton
Chester
CH2 4QF
Almost all of our work happens at your property rather than here, so please call before travelling.
Monday – Friday — 24hrs — Emergency Call-Outs
Saturday — 8:00 – 19:00
Sunday — 8:00 – 19:00
Weekday emergency call-outs are answered around the clock. Weekend cover is 8:00 to 19:00.